The average human spends about 33 years in bed. That’s about one-third of our lives in bed, either sleeping or attempting to do so. If this study is anything to go by, then your bedroom is the most crucial space of your home, and the bed takes center stage as the pinnacle of comfort and relaxation.
But let me tell you a little secret: creating the perfect sleep environment goes beyond having a good mattress and sturdy bed frame. It extends to making your bed, paying attention to every detail to ensure a truly inviting and aesthetically pleasing experience. So, in this article, I will show you how to make a bed that you can bounce a quarter off.

But before we embark on our artistic escapade, let’s take a moment to appreciate the significance of a neatly made bed.
A neatly made bed holds significance beyond just the visual appeal. It carries psychological and emotional benefits, contributes to a well-organized environment, and creates a comforting atmosphere in your bedroom.
Here are some key reasons why a well-made bed is essential:
- Creates a sense of tidiness and organization.
- Enhances the overall aesthetics of the bedroom, elevating its visual appeal and creating a welcoming atmosphere.
- Sets a proactive tone and instills a sense of discipline, which can translate into increased productivity and focus throughout the day.
- Prepares the bed for a restful night’s sleep. Smoothing out sheets and fluffing pillows can help create a comfortable sleep environment.
- Maintains the cleanliness and longevity of your bedding by reducing dust accumulation and wear and tear.
- The smooth sheets and properly arranged pillows invite you to relax and unwind, creating a cozy haven at the end of a long day.
- It’s more of a self-care routine than a chore and cultivates a sense of pride and satisfaction as you witness the transformation of a messy bed into a neatly made haven.
How to Make a Bed You Can Bounce a Quarter Off of
Achieving the perfect bounce for a quarter on your bed requires precision and attention to detail. Follow this step-by-step guide to master the art of bed-making that is visually appealing and meets the challenge of the legendary quarter bounce.

Step 1: Strip the Bed
Start by removing all bedding, including sheets, pillowcases, blankets, and duvet covers, so you have a fresh and clean start for making your bed.
Step 2: Prepare the Mattress
Smooth out any wrinkles or creases on the mattress surface. Ensure that the mattress is centered on the bed frame and properly aligned.
Step 3: Fitted Sheet
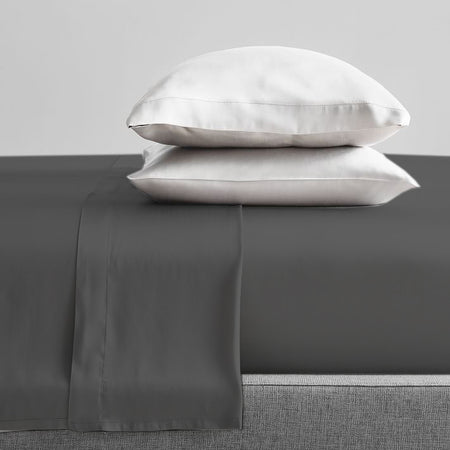
Begin by placing the fitted sheet over the mattress, ensuring it fits snugly and evenly. Tuck the corners tightly underneath the mattress, creating a smooth and secure foundation.
Step 4: Flat Sheet and Hospital Corners
Start by spreading the flat sheet evenly over the fitted sheet, ensuring that it aligns with the top edge of the mattress. Smooth any wrinkles or creases to create a clean and crisp foundation for the rest of the bedding.
Tuck the Bottom Edge
Stand at the foot of the bed and tuck the bottom edge of the flat sheet tightly under the mattress. Begin at one corner and work your way across to the other, using your hands to smooth out the fabric as you go. The sheet should be taut and flat against the mattress, with no excess material hanging down.
Create Hospital Corners
The secret to a tight bed is the hospital corners, and here’s how to get it right.
- Stand on one side of the bed, facing the corner where the foot of the mattress meets the side edge.
- Lift the side of the sheet that is hanging down, forming a 45-degree angle with the mattress corner. Smooth out any wrinkles or folds.
- Take the excess fabric and fold it up, creating a triangular flap that extends from the corner of the mattress. The folded edge should align with the side edge of the mattress.
- Hold the triangular flap in place with one hand while using your other hand to tuck the excess fabric underneath the mattress. Ensure the fabric is tightly secured and the corner sharp and crisp.
- Repeat the process on the other side of the bed, standing at the foot of the mattress and facing the corner where the foot and side edges meet.
Step 5: Blankets and Duvet Covers
Layer blankets or a duvet cover on the flat sheet, ensuring they are centered and straight. Smooth out any wrinkles or folds, maintaining a uniform and level surface.
Step 6: Pillows and Pillowcases
Arrange your pillows at the head of the bed, propping them up against the headboard or arranging them in a visually appealing pattern. Slide pillowcases onto each pillow, making sure they are smooth and wrinkle-free.
Step 7: Decorative Touches
Add decorative pillows, shams, or throw blankets to enhance the visual appeal of your bed. Experiment with different textures, colors, and patterns to express your style while maintaining a cohesive and balanced look.

Step 8: Finishing Touches
Stand back and assess your work. Smooth any wrinkles or uneven edges, ensuring a crisp and polished appearance. Adjust the positioning of pillows or decorative elements to achieve perfect symmetry and alignment.
Step 9: The Quarter Bounce Test
Once your bed is meticulously made, it’s time for the ultimate challenge – the quarter test. Take a quarter and gently drop it onto the center of the bed. The goal is for the quarter to bounce back up slightly, indicating a firm and level surface.
Step 10: Admire Your Masterpiece
Stand back and take a moment to appreciate your beautifully made bed. Revel in the satisfaction of a perfectly executed bed-making routine that you can bounce a quarter off of, and creates a visually pleasing and inviting sleep environment.
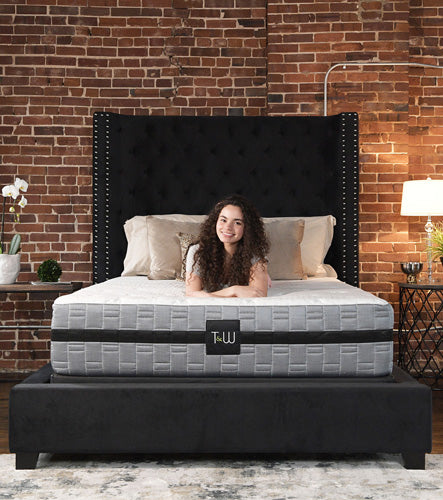
Mastering the art of bouncing a quarter off the bed is one of the easiest ways to transform your bedroom style. But it is equally important to recognize the significance of a good mattress. A good mattress makes it easy to achieve the right amount of tension and firmness in your bed for the quarter to bounce off of. It also serves as the foundation for a comfortable and restful sleep experience.


